recipe

vegan gingerbread truffles

I made these as gifts for our clients, neighbours, friends and family at Christmas and they were a HIT!

I was inspired by this Fix and Fogg recipe, whose nut butters I’m a huge recent fan of, but I had some Biscoff spread I wanted to use up, to make these slightly more indulgent for Christmas. I had planned to make the entire recipe with Biscoff but ended up not having enough, so made up the difference with peanut and almond butters (I’ve written the recipe as 50/50 but my batch was more like 60/40). As long as you have 2 cups in total of spreads (you can use all the same one if you prefer), that should be fine! They still managed to taste pretty healthy though (to my mind!). This is also the perfect opportunity to use up any special Christmas pudding/cake spice mixes you might have lying around. Anything cinnamon-based will be delicious here.

Everyone loved these truffles and I will be making them again for a healthy(ish) treat to have around the house for the rest of the summer going into autumn. I highly recommend keeping them in the freezer if it’s warm where you are, as they do grow soft quite quickly!

Vegan gingerbread truffles

Makes between 45-50 truffles, depending on size! I got 48.

1 cup medjool or dried dates + boiling water to cover
2 cups rolled oats
3 tablespoons pumpkin seeds (pepitas) or pistachios, (optional, they just look lovely!)
1 teaspoon sea salt
4 teaspoons ground cinnamon or a Christmas/pumpkin pie spice blend you might have (I had some Gewurzhaus St Nicholas Spekulaas which was really delicious here!)
3 teaspoons ground ginger (you could up it to 4 teaspoons if you want a strong ginger flavour)
1 cup Biscoff spread
1 cup other nut butter (I used a mixture of almond and peanut)
2 tablespoons molasses or black treacle (molasses is a great iron source!)
2 tablespoons water
2 teaspoons vanilla extract

Coating:

200g dark chocolate 
5 tablespoons coconut oil
A sprinkling of demerara sugar (optional)


Soak the dates in boiling water for five to ten minutes until softened. 

Place the oats, pumpkin seeds/pistachios (if using), salt and spices in a food processor and pulse for about 20 seconds until combined.

Drain the dates and add them to the food processor together with the spreads, molasses, water and vanilla. Process again until well combined, pausing to scrape down the sides as necessary. It should be sticky and holding together well. If it’s too dry add a bit more water. If it’s too wet, you can add some ground almonds.

Roll the mixture into small balls and place on a large baking tray. Place them in the freezer for an hour to firm up.

Meanwhile, melt the dark chocolate and coconut oil together gently either in the microwave or on the stove using a heatproof bowl. Make sure it’s combined and then take it off the heat. Allow to cool only very slightly, as you need the mixture to be liquid for dipping the truffles.

Retrieve your truffle tray from the freezer. Get another empty baking tray and line it with baking paper. Using either a teaspoon or a strong toothpick/bamboo skewer, dip each truffle into the melted chocolate mixture, coating all over, then place back on the tray. Repeat until all the truffles have been dipped. The first truffles may get a more generous coating than the others, that’s just the way of things! Save those as a cook’s treat.

If liked, sprinkle the truffles with demerara sugar before the chocolate has set. Return to the freezer or fridge to set completely, at least overnight but ideally for a few days before you need them.

Enjoy straight from the fridge or freezer, all year round! Perfect to serve with coffee, in the morning or after dinner.

incredible vegan oreo brownies

Healthy? No way, unless the presence of chia seeds cancels everything else out (I don’t think it does, sorry!)

Incredible? YES.

Worth making to treat your fabulous self? HELL YES.

These were a road-test for the family Christmas and needless to say, they will be making an appearance! If you’re making this for gluten-free loved ones, simply sub the flour for a GF plain flour (or buckwheat flour) and the Oreos for a GF alternative.

Incredible vegan oreo brownies

2 tablespoons chia seeds
110g coconut oil, melted
240g dark brown sugar
80ml maple syrup
3 tablespoons almond butter (or peanut butter)
60g cocoa powder
85g plain flour
1 teaspoon vanilla extract
1/2 teaspoon sea salt
1/4 teaspoon apple cider vinegar
1/2 teaspoon bicarb soda
10 Oreos (check the pack if you’re making this for vegans - the Oreos you can buy in Australia are vegan but that might not be the case everywhere), snapped into pieces
Roughly 12 squares of dark chocolate (I used Green & Black’s 85%)

Preheat the oven to 180 C (fan). Grease and line a 20cm square baking tin, making sure the paper comes up the sides and there’s a bit of overhang, so the brownie will come out easily.

Combine the chia seeds with 6 tablespoons of water in a small bowl and set aside to thicken, which will take about 15 minutes. It might look gross - mine looked like a film of mould had formed on a bowl of water, hair and mouse droppings - but don’t despair, I promise, everything is going to be wonderful. You can get on with the next step while the chia magic happens!

Whisk together the melted coconut oil, brown sugar, maple syrup and almond butter (I used my Kitchen Aid with the balloon whisk) until you have formed what looks like a thick caramel sauce.

Sieve in the cocoa powder and whisk again until the batter is shiny and smooth looking.

Add in the chia gloop - you should end up with about 6 tablespoons of it, roughly. Again, whisk until shiny and well incorporated.

Then gradually fold in the (sifted) flour, baking powder, bicarb soda and salt until incorporated.

Finally whisk in the vanilla extract and apple cider vinegar.

Now you have your batter. In future, I may double the ingredients up to this step of the process so I can leave the Oreos whole and cover them with batter. That sounds dangerous, doesn’t it?

But for now, break your 10 Oreo biscuits into pieces - either halves or threes, it doesn’t matter - over the bowl and fold them gently through the brownie batter.

Pour the batter into your prepared tin and dot with the pieces of dark chocolate. You could also use vegan chocolate buttons or melts.

Put in the oven and bake for 20-25 minutes. I pulled mine out at 24 minutes and they were pretty much perfect. But you know your oven! I used the oven function on my air fryer, which is a very reliable oven. If I were using the actual oven in my kitchen, which is gas, I would be checking them at 20 minutes as it runs a little hot.

Use a skewer to test for doneness - you don’t want raw batter sticking to the skewer, but a little is fine, that’s what you want because that means they’re still squidgy in the middle and will firm up as they cool. If the skewer comes out clean, they are probably overdone. Not inedible, they just won’t be fudgy and squidgy. So if you want squidgy brownies (who doesn’t?), set your timer for 20 minutes and check them after that until you’re happy, would be my advice.

Now, this is the crucial bit. You must leave them to completely cool in the tin. No cutting the brownies while they’re still hot, in the style of Homer Simpson.

Image from The Joy of Cooking Milhouse (a bloody awesome site!)

Leave them for at least an hour, but three or four is even better. If you stick a knife into the cooled brownies and it comes out clean, then they’re ready to devour.

Lift the brownie slab out of the pan, place on a board and cut into desired-size pieces. You should get 9 generous brownies out of this, and maybe 15 delicately-sized ones.

Next time I make these, I might leave out the maple syrup - the outer brownies are quite crusty, which indicates high sugar content. I wonder if leaving out the maple syrup would make a difference. But I’m not complaining, they’re pretty heavenly regardless!

Frankly, the only giveaway that this incredibly decadent brownie is vegan might be the occasional chia seed in the teeth. And it’s totally #worthit 😍

moroccan pumpkin, chickpea and feta pasta

Autumn is pumpkin season in every hemisphere! This week I was thinking of ways to use my homemade dukkah, but in a warming and hearty way that the cool weather precipitates. Spying a wedge of pumpkin in the fridge, I decided to make a Moroccan flavoured pasta. It might sound like a weird combination of ingredients but the whole really is greater than the sum of its parts! The sweetness of the pumpkin combined with heat from the spices, nuttiness from the chickpeas and dukkah, and a salty richness from the feta, really makes for a bit of a showstopper. We were certainly very satisfied with it!

Moroccan pumpkin, chickpea and feta pasta

Serves 4 heartily

1kg Kent pumpkin, skin on (or off, if you prefer)
Olive oil
1 onion, finely chopped
1 garlic clove, crushed
1 can chickpeas, drained (save the liquid to make pasta)
2 teaspoons Moroccan Souk spice mix (or you could use another Moroccan seasoning, or ras el hanout)
1 teaspoon Aleppo pepper (or a mild chilli powder)
500g orecchiette or other small pasta (macaroni would work well)
1 litre vegetable stock (I added a little miso, cinnamon and turmeric for extra flavour)
Spinach or kale leaves, shredded
Almond feta, or regular feta, to serve
Dukkah, to serve

Preheat the oven to 200 C. Cut your pumpkin carefully into similarly sized medium cubes - I keep the skin on but you can remove it if you like - and place on an oiled baking tray. Season with salt and pepper.

Bake the pumpkin for about 30 minutes or until golden. You may need to toss them halfway through. Keep warm.

Put the kettle on to boil.

In a large saute pan with a lid (I use my Le Creuset shallow casserole), heat some olive oil and add the onion and garlic. Cook, stirring frequently, for a few minutes until soft and starting to colour. Add the chickpeas and spices and continue stirring and cooking for a few minutes until everything is combined and smelling nice but not browning.

Using boiling water from the kettle, make the stock in a jug and set aside.

Working quickly so the stock doesn’t cool, increase the heat on the stove and add the pasta to the spiced chickpea mixture in the pan. Stir to coat well, then add the stock - just a little at first, as it will probably hiss and bubble, then add the rest. Stir gently, making sure it’s all combined and nothing is stuck to the bottom of the pan, and ensuring all the pasta is submerged by the stock. Add a little bit more boiling water if needed.

Bring the pan to the boil, stir once more to ensure nothing is stuck to the bottom, then reduce the heat right down to a simmer, put a lid on and set your timer for 10 minutes.

After 10 minutes, return to the pan, check the pasta for done-ness. It might need slightly longer. When it’s done, nearly all of the liquid should have evaporated, but there should be a little bit left as the pasta’s sauce.

Once the pasta is cooked to your liking, add most of the roast pumpkin cubes to the pan, reserving two or three per serve for decoration, plus the shredded spinach, and stir through until the spinach has wilted. The pumpkin should disintegrate a bit and meld with the remaining stock to form a lovely sauce.

Serve in pasta bowls and top each serve with a few roast pumpkin cubes, some feta and a scattering of dukkah. Perfect Netflix and chill food.

If you have any leftovers, you can make a pasta bake - which I think we enjoyed even more than the original dish! Add half a cup (or so, depending how much you’ve got left) of hot stock to the leftover pasta, stir to amalgamate, add any extra vegetables you want (I added broccoli), stir again, top with feta (or any other kind of cheese), breadcrumbs and a little dukkah, and bake in a hot oven for about 25 minutes. So good!

homemade fresh pasta (vegan + easy!)

One of the things I really resisted about a vegan diet was giving up eggs - not only are they delicious in their own right but they are key ingredients in so many other foods I enjoy, fresh pasta being one of them.

I did not think it was possible to make a decent fresh pasta dough without eggs…..but then I came up with this recipe and was blown away!

It’s also a great no-waste recipe because it uses aquafaba - the liquid found in canned chickpeas. It’s slightly gelatinous, like eggs, and protein-rich so works as a great binding agent. We honestly couldn’t tell the difference. The dough was silky smooth, went through the pasta machine like a dream, and was absolutely delicious to eat.

You don’t have to be vegan to enjoy this recipe - if you feel like fresh pasta but have no eggs in the house, you’re in luck! If you’re curious, I highly encourage you to give it a try.

Vegan pasta dough

Enough for 4-6 servings

400g pasta tipo 00 flour
200ml aquafaba (or tepid water, or a mixture of both - see instructions)
Large pinch turmeric powder (for colour)

Weigh out the flour and add to the bowl of a food processor, together with the turmeric.

Open a can of chickpeas* and drain the liquid (the aquafaba) into a jug or place a jug/small bowl on digital scales and pour the aquafaba directly into it to measure it that way. You’ll need 200ml of liquid in total. I found that a typical 400g can of chickpeas gave me about 175ml of aquafaba, so I made up the 200ml with some tepid water.

Add the liquid to the flour in the bowl of the food processor.

Turn the food processor on and blend it all together for a minute or so, until a dough begins to form. You may need to pause the processor, scrape down any flour or stray dough from the sides, and whiz again until it all comes together.

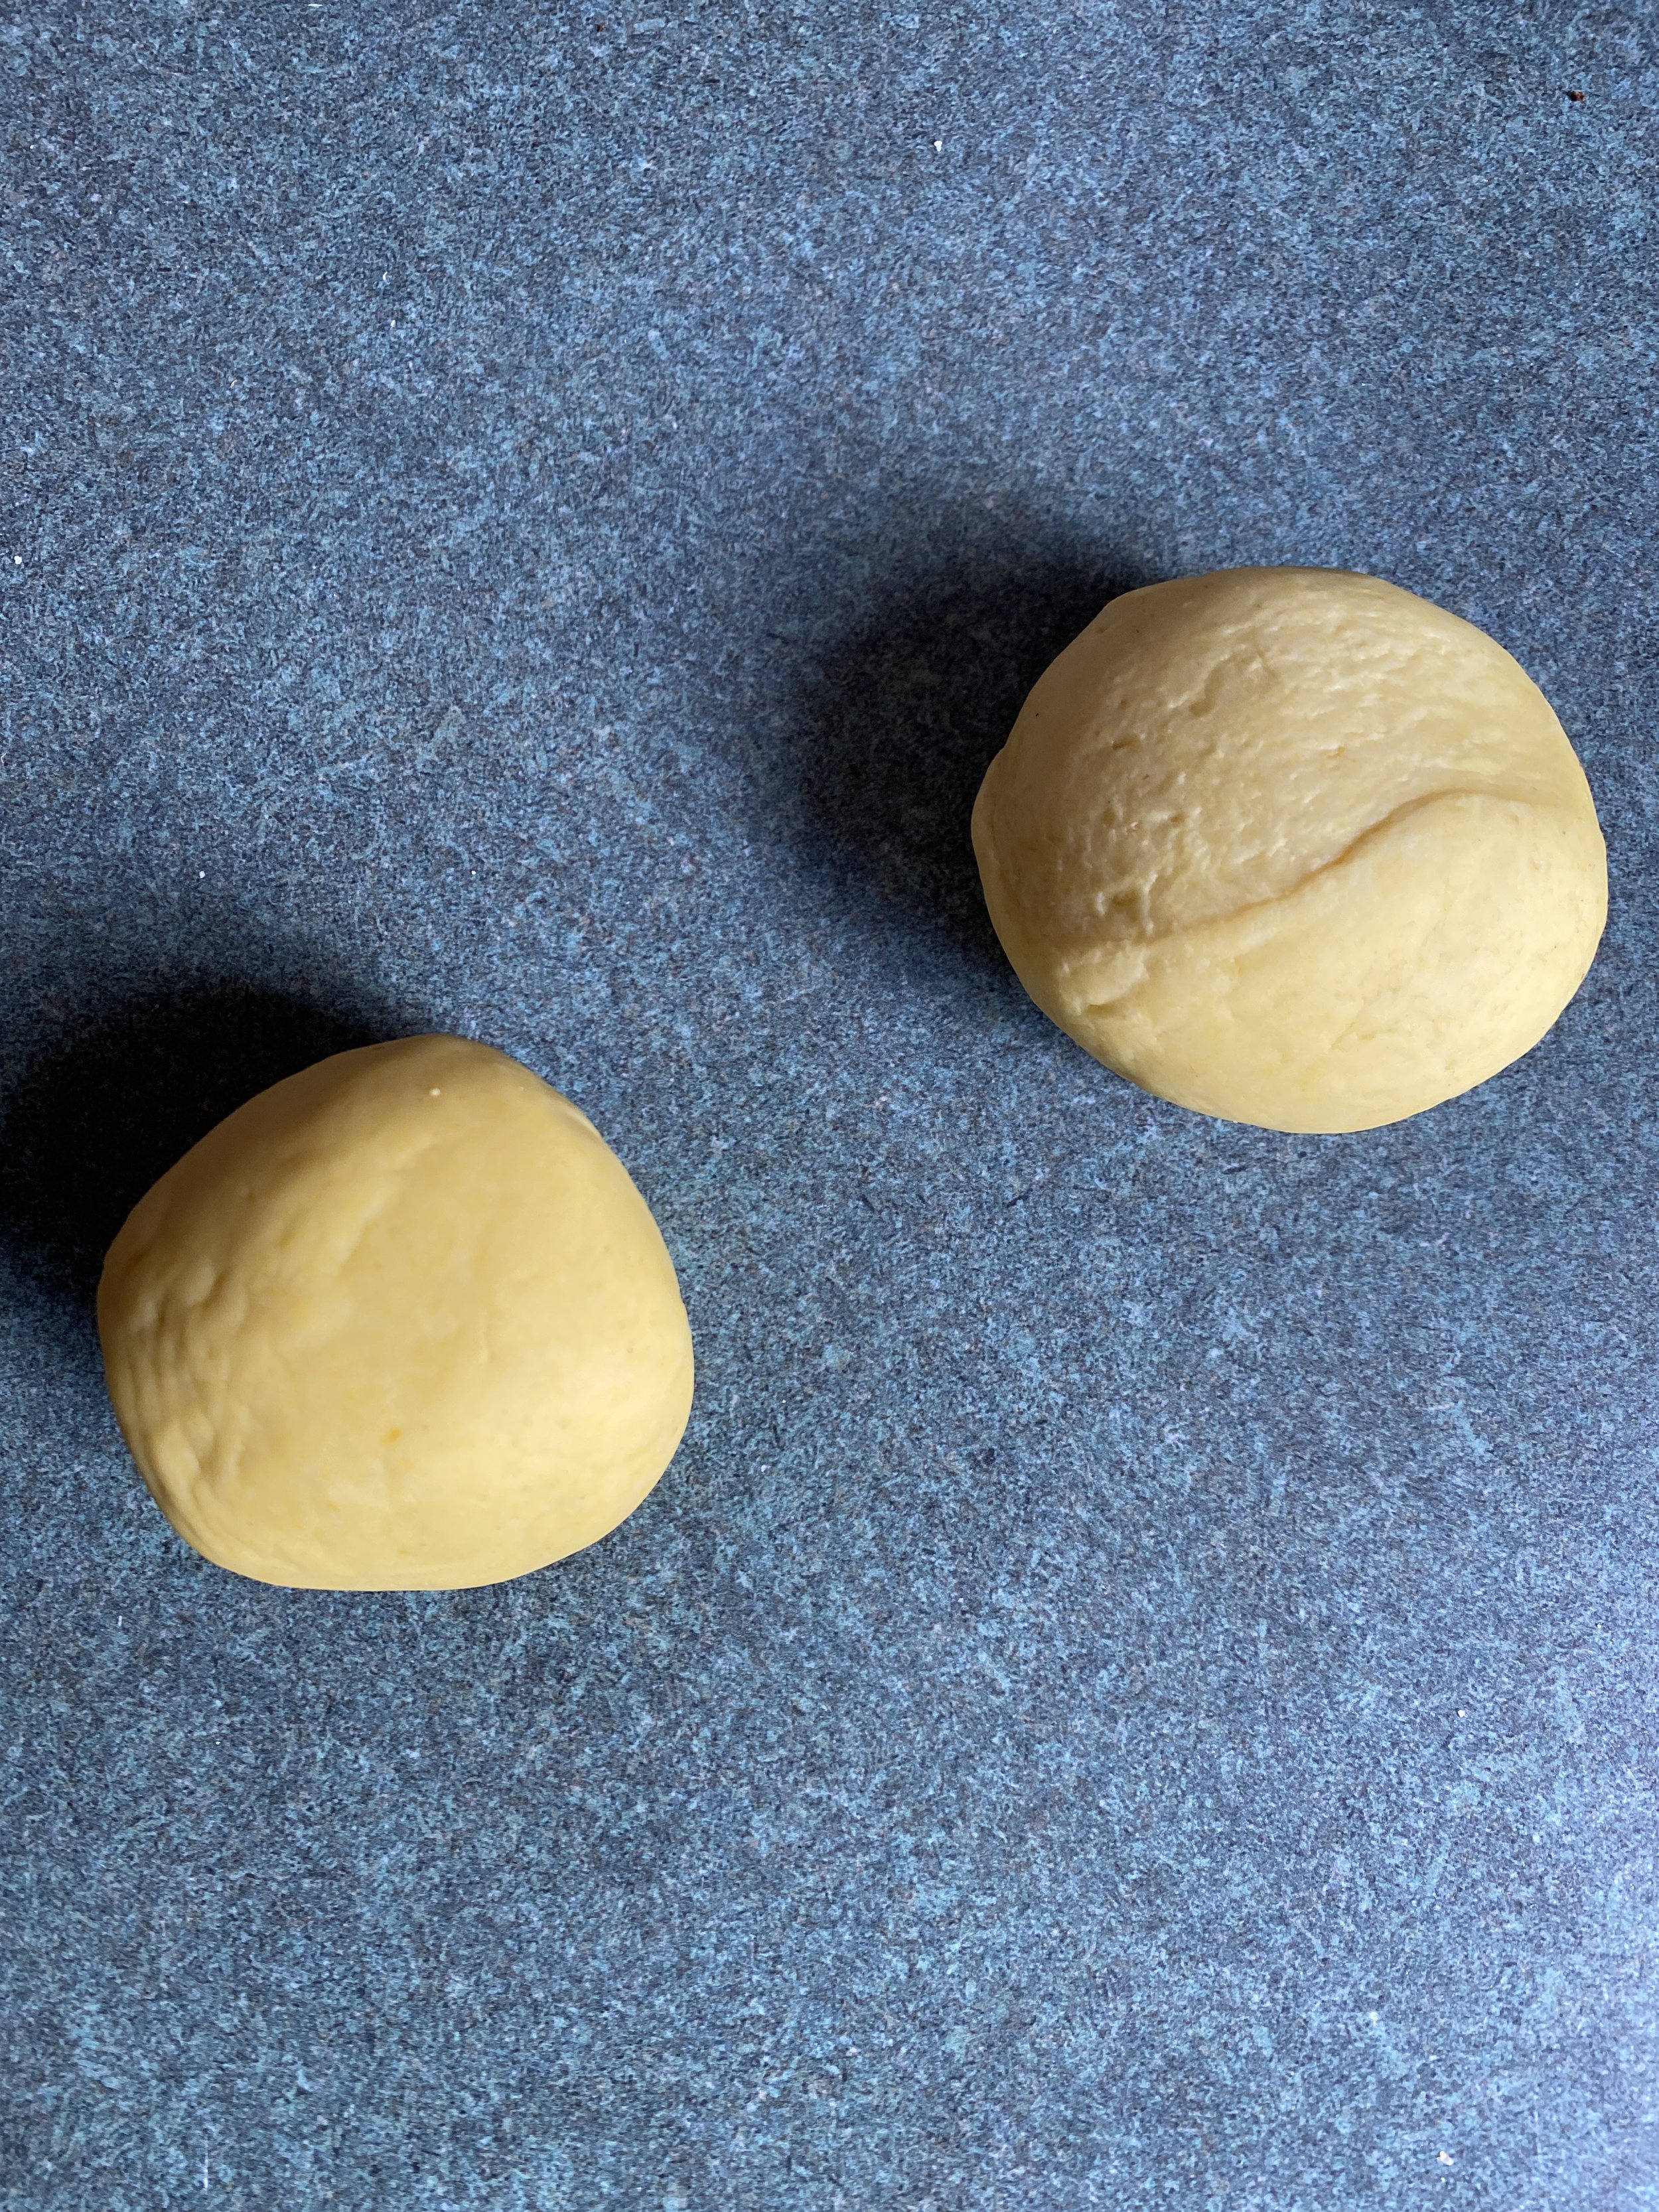
Turn the dough out on to a lightly oiled or floured surface and knead together until it’s one large smooth ball. It won’t take very long. In fact, you’ll probably be quite surprised at how fast it comes together!

The dough then needs some time to rest and chill - don’t we all. I don’t buy clingfilm, but I do have a stash of clean plastic bags that bread, etc has come in - I put the dough in one of those, wrap it up and put in the fridge for 30 minutes.

Note: you can, of course, bring the dough together by hand if you don’t have a food processor, it will just require a bit more effort and elbow grease! Just make a well in the middle of the flour, put the liquid in the centre and then mix together with your hands and knead as above.

Once the dough has had its chilling time, you’re ready to roll!

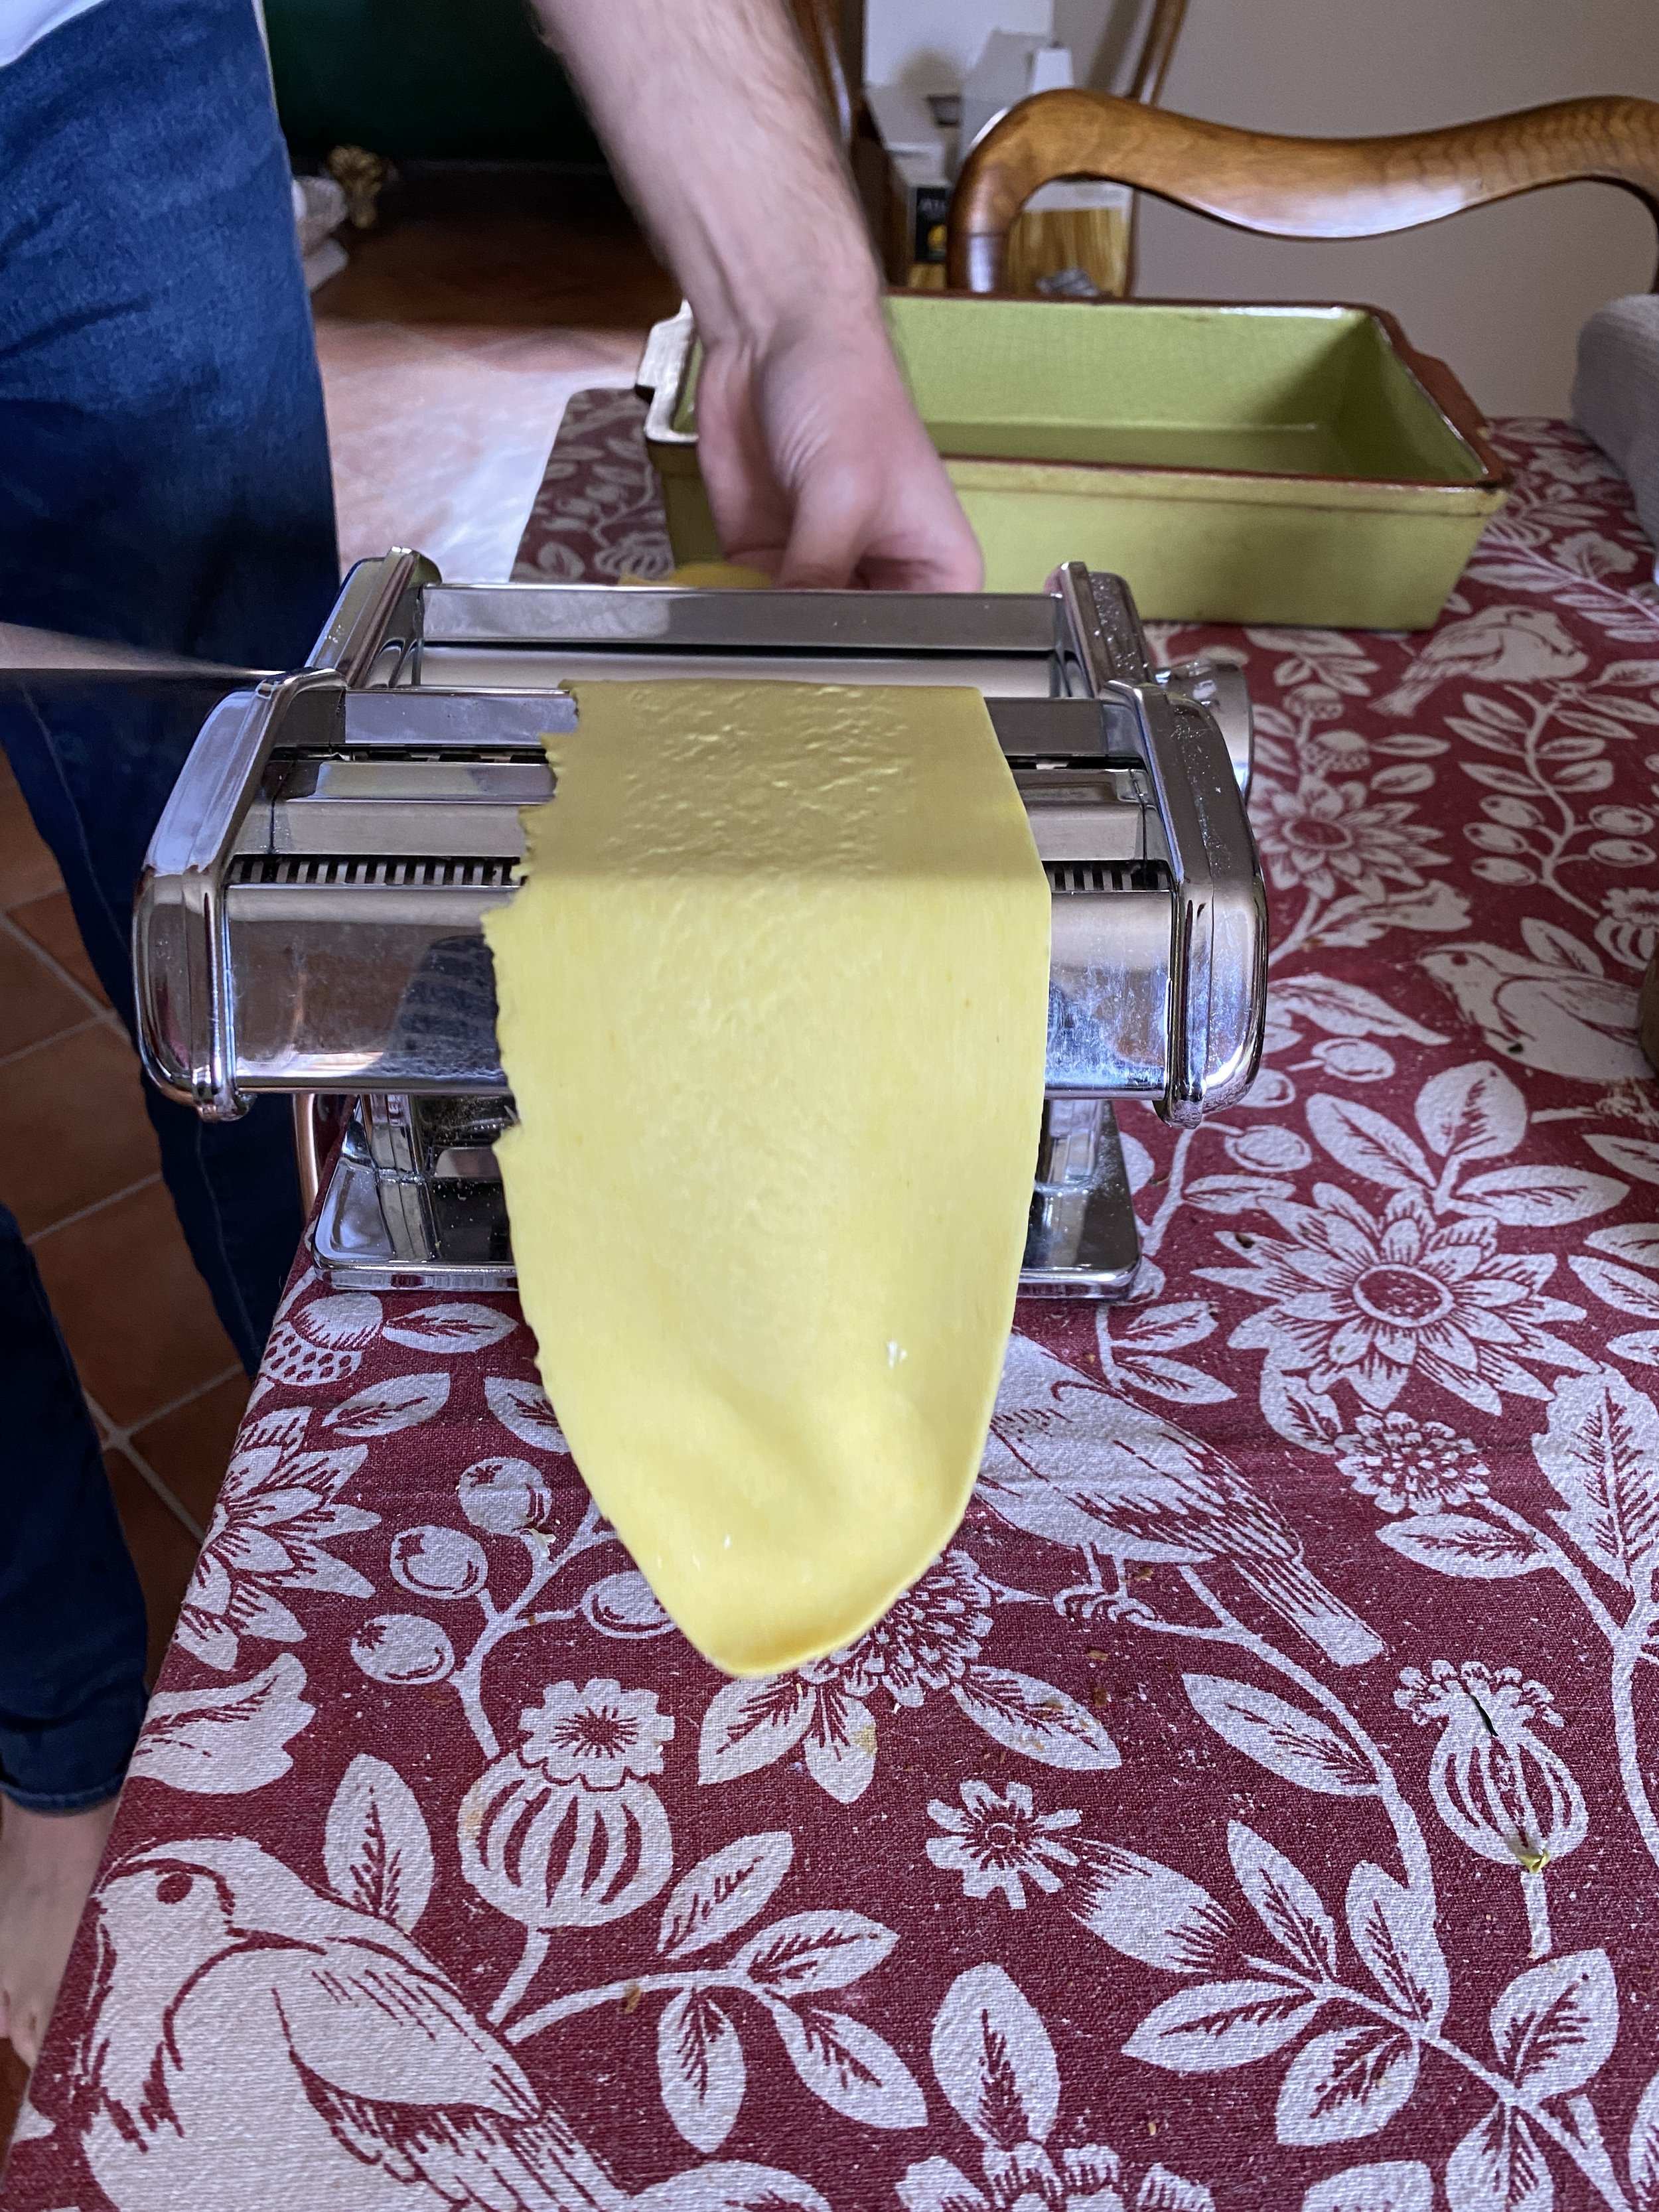
Cut the dough into six equal pieces - I cut it in half, and then each half into thirds. Feed each piece of dough through your pasta machine according to the instructions, and until it’s at your desired thinness.

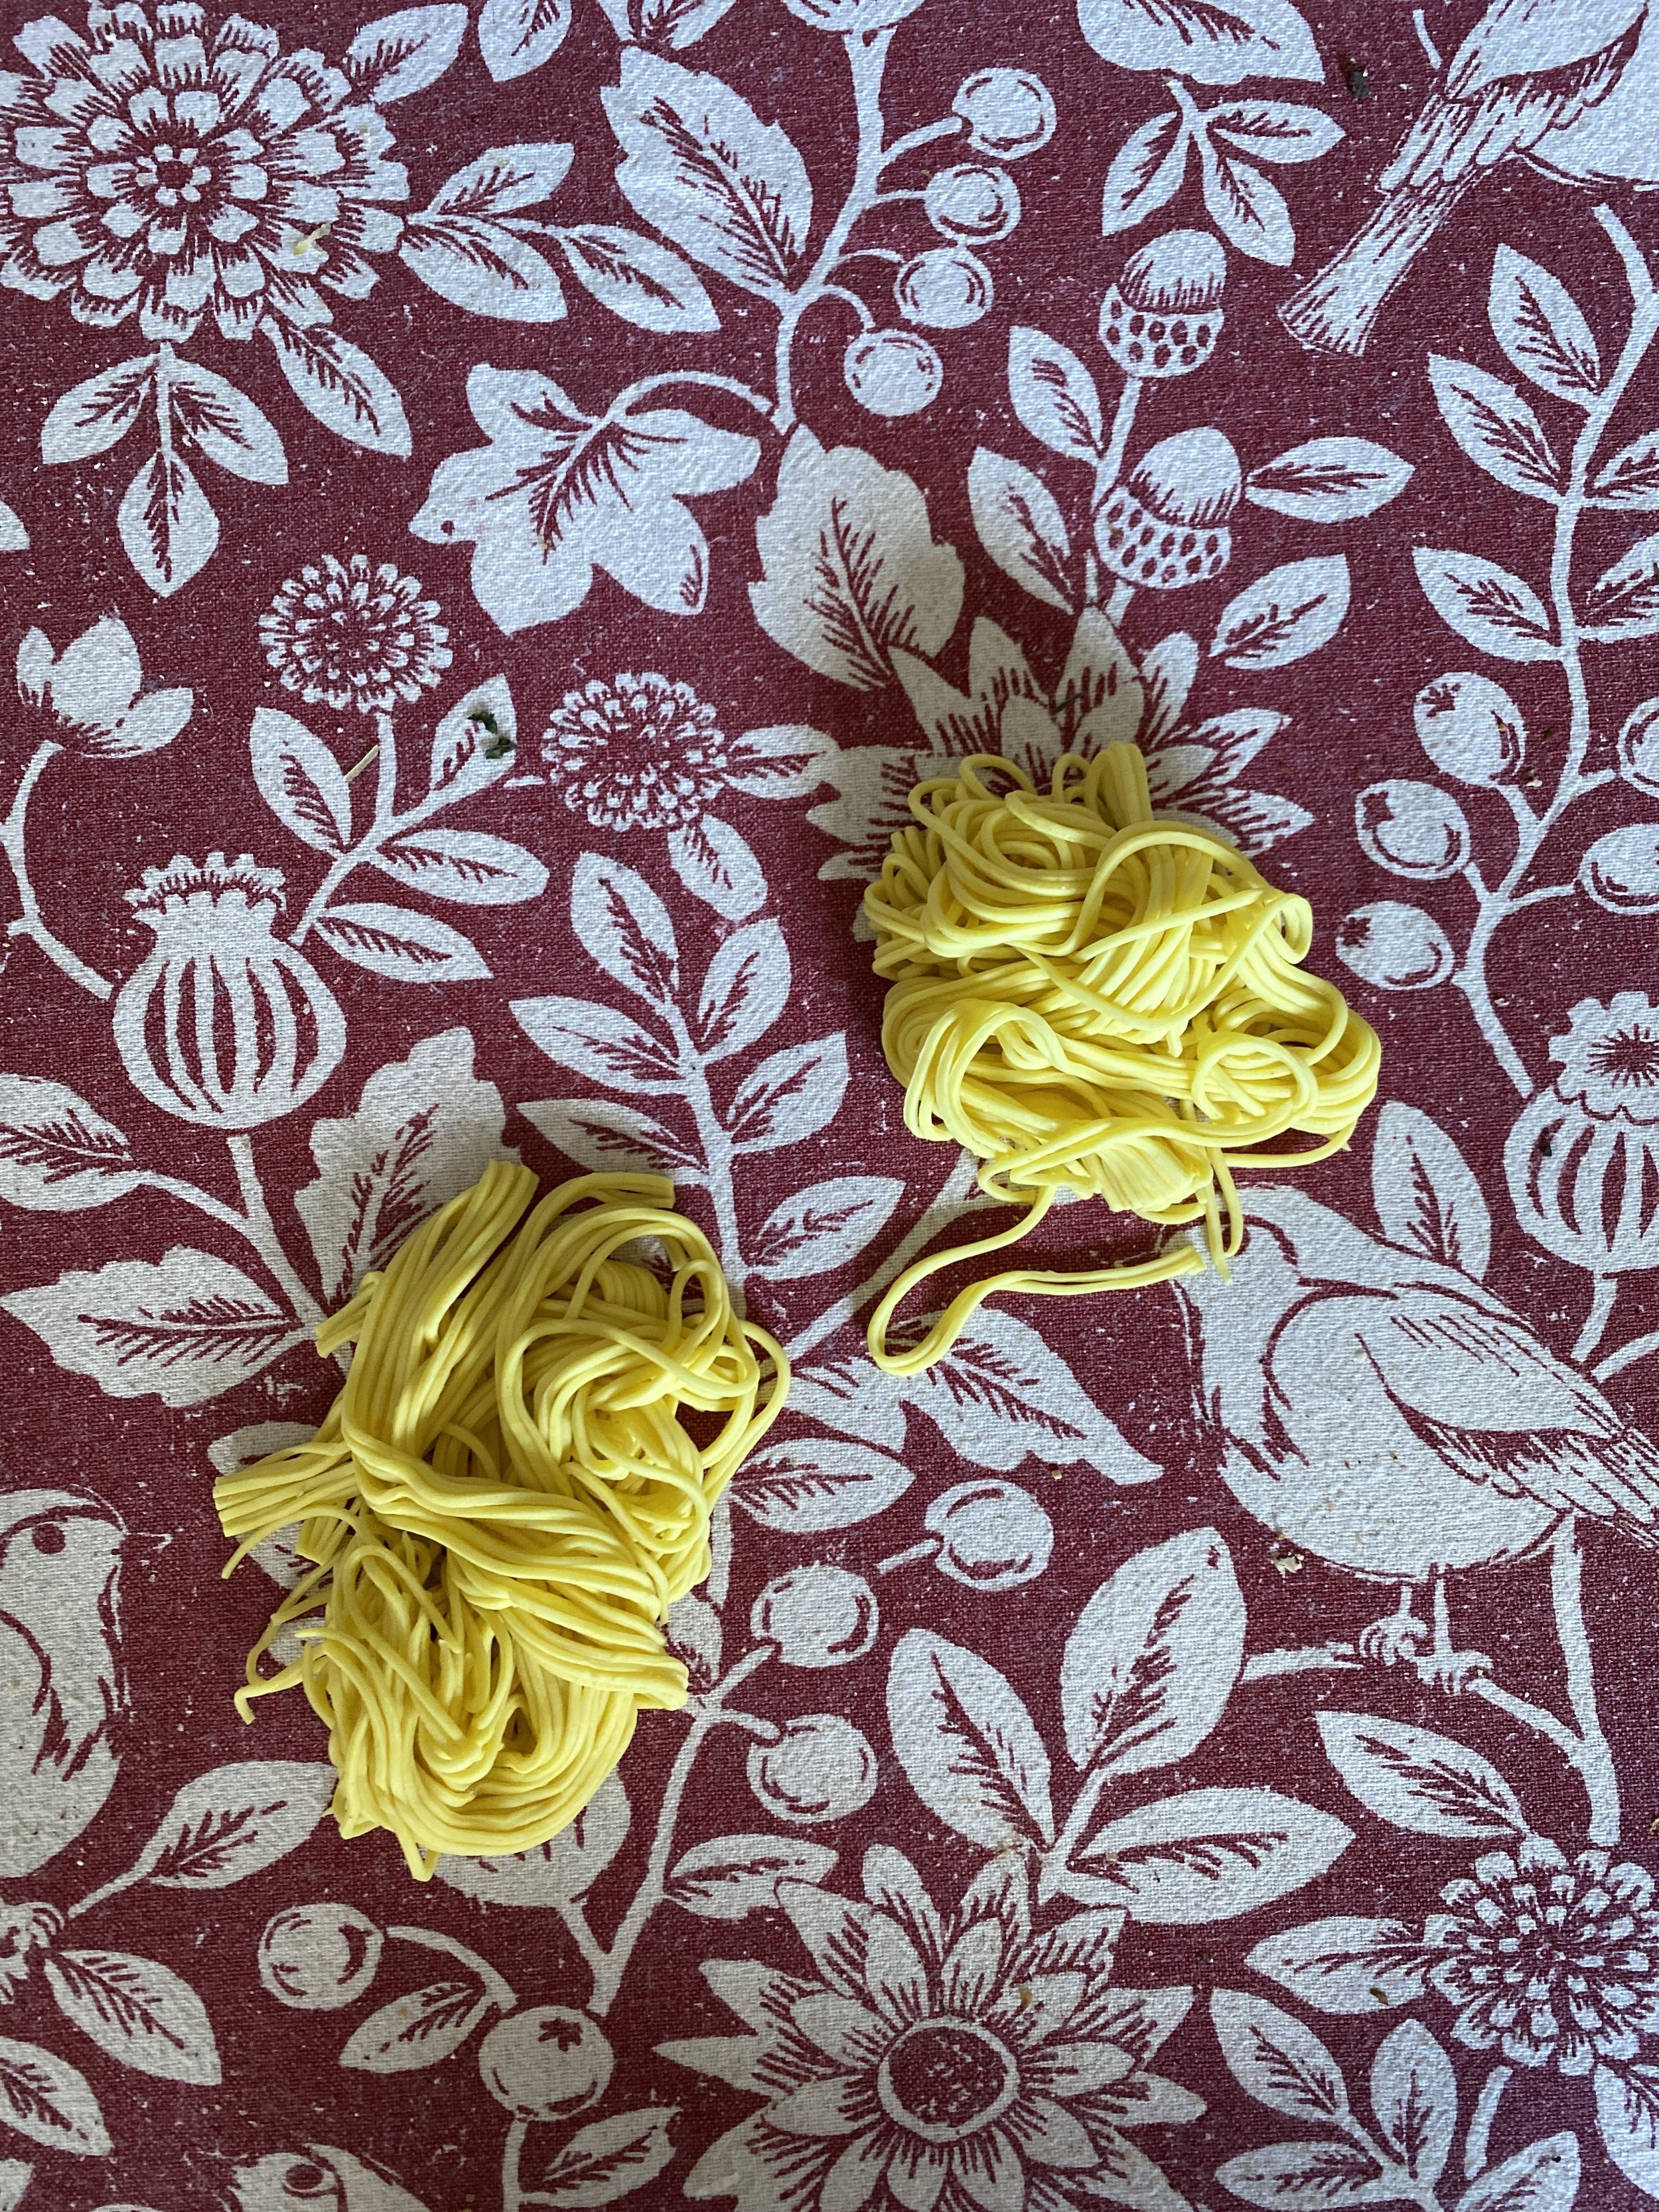
Either use the sheets of pasta to make lasagna, cannelloni, ravioli or tortellini, or cut the sheets into your desired pasta shape.

We used four pieces of dough to make pasta sheets that we turned into a lasagna, and the other two pieces we made into thin noodles which we enjoyed with dumplings and green vegetables in a soup.

This is a seriously incredible pasta dough, and I can’t wait to make it again. And seeing that it’s so easy, I think “again” might be “tonight”!

*Obviously reserve the chickpeas for another dish! Maybe this one? Or this one?

dukkah

Dukkah is one of those things, if you’re anything like me, you may have written off as “too trendy”, having seen it on every restaurant menu and on the shelves of every posh grocery store. But then you try it and realise the hype is very much deserved! And it’s so easy to make yourself.

I am a huge fan of dukkah and enjoy having a jar of it in the house to use in all manner of savoury things - I particularly like it scattered over avocado on toast, wedges of roast pumpkin, or as a salad topper. It’s also beautiful, and traditionally served, with crusty bread and grassy olive oil as a snack or starter.

Dukkah, my way

6 tablespoons coriander seeds
6 tablespoons sesame seeds
4 tablespoons pumpkin seeds
3 tablespoons fennel seeds
3 tablespoons cumin seeds
1.5 tablespoons black peppercorns
1 tablespoon nigella seeds
100g almonds
100g other nuts
0.5 teaspoon garlic powder
1.5 teaspoons Moroccan Souk spice blend (or another North African flavour of your choice, like harissa or ras el hanout. But I particularly like this one)
2 teaspoons za’atar (optional, I just had it in the cupboard)
4 teaspoons sea salt

Put all ingredients except for the salt into a dry frying pan, stir to combine and toast over medium heat until fragrant. Don’t let anything brown. Allow to cool.

Put the whole lot, together with the salt, in a food processor and pulse until combined but still chunky. You may prefer it slightly more pulverised.

Place the mixture in clean glass jars. Keeps….forever! And it also makes a lovely gift if you can bear to part with any of it. Believe me, that’s a difficult task.